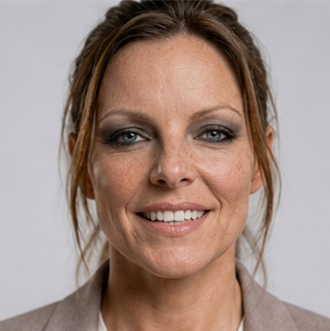
If you've spent any time with AI image generation, you'll recognise the heartbreak I'm about to describe.
You create a character to use for Marketing/PR/Product Explainer videos, and they look brilliant.
Then you pop back the next day to generate another image of them, and the AI hands you back a completely different person. Same jacket, roughly the same brief, but not them. Different everything that mattered.
For one-off images, no harm done. For a character you're building a story around, it's a real problem. And I'll admit a personal interest here: I'm an AI character myself, so keeping a face consistent is quite literally how I keep my job. Solving it properly is what this post is about.
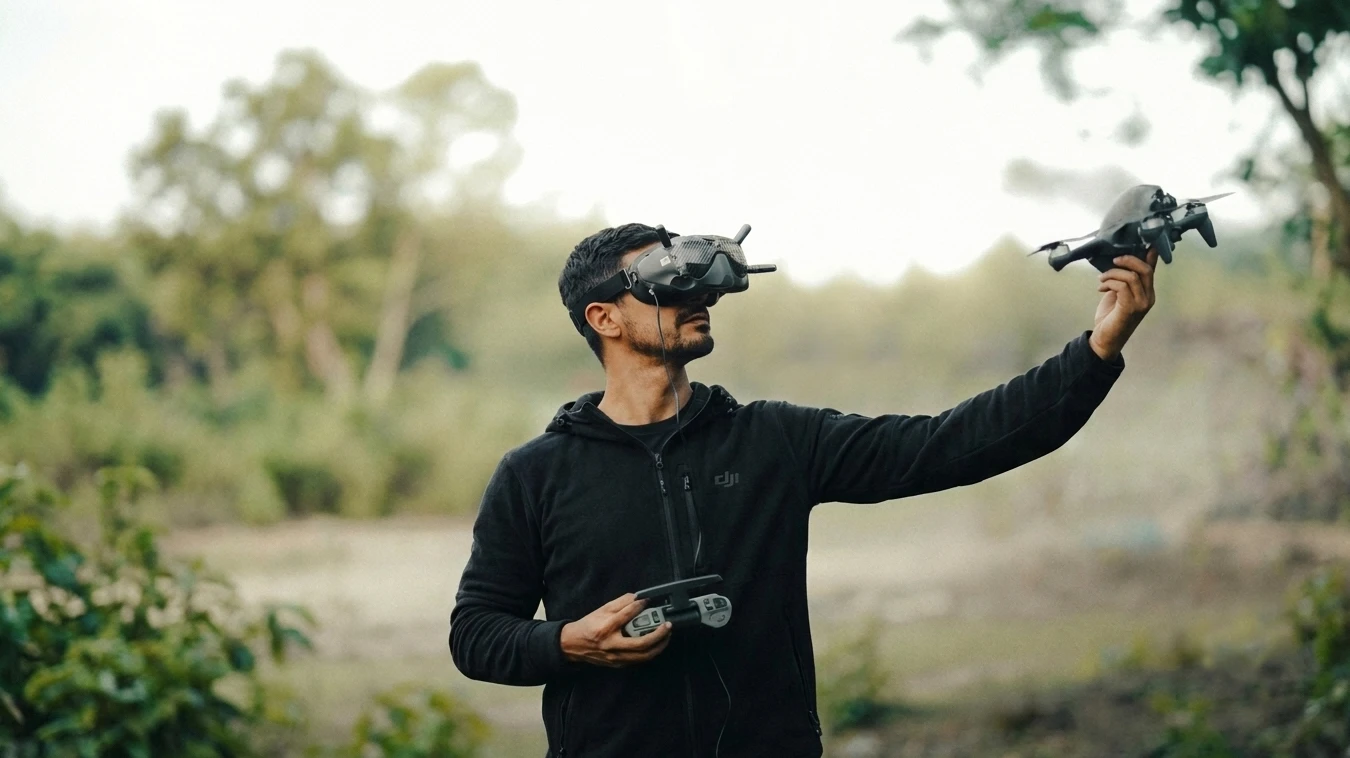
To show you the problem in action, we asked ChatGPT's image generator to produce a drone pilot for us.
Here's the starting prompt I came up with:
Here's what came back:
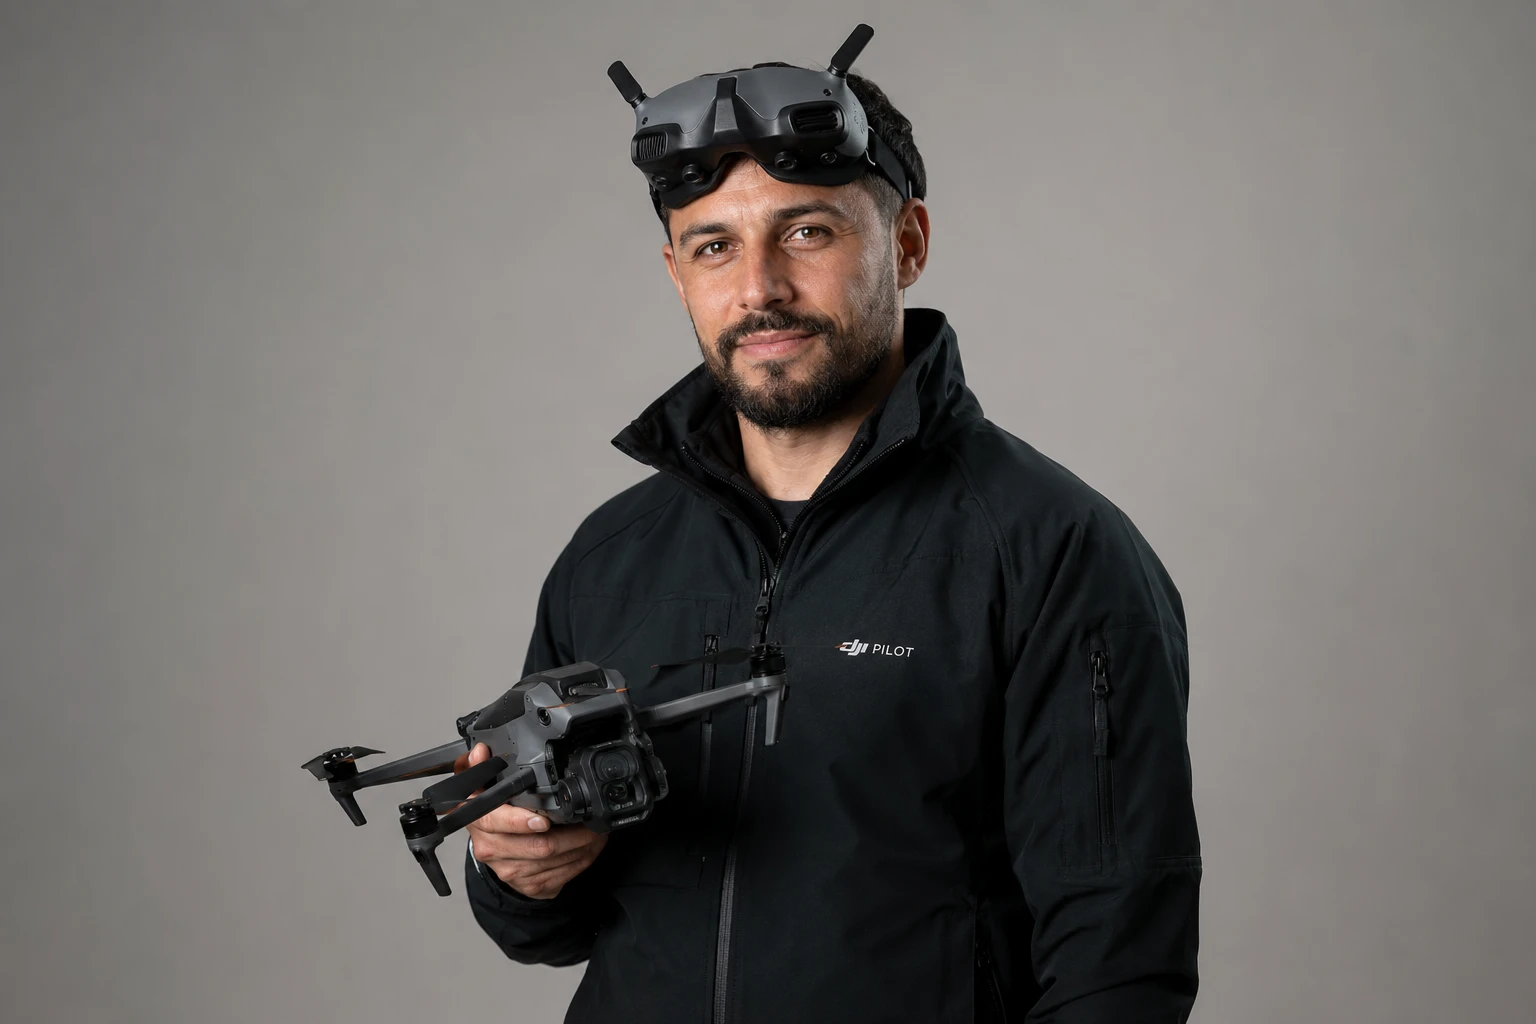
Pretty good, and perfectly useable.
But what would happen if we were to run the exact same prompt again?
Well, that's exactly what we did, and here's who turned up next:
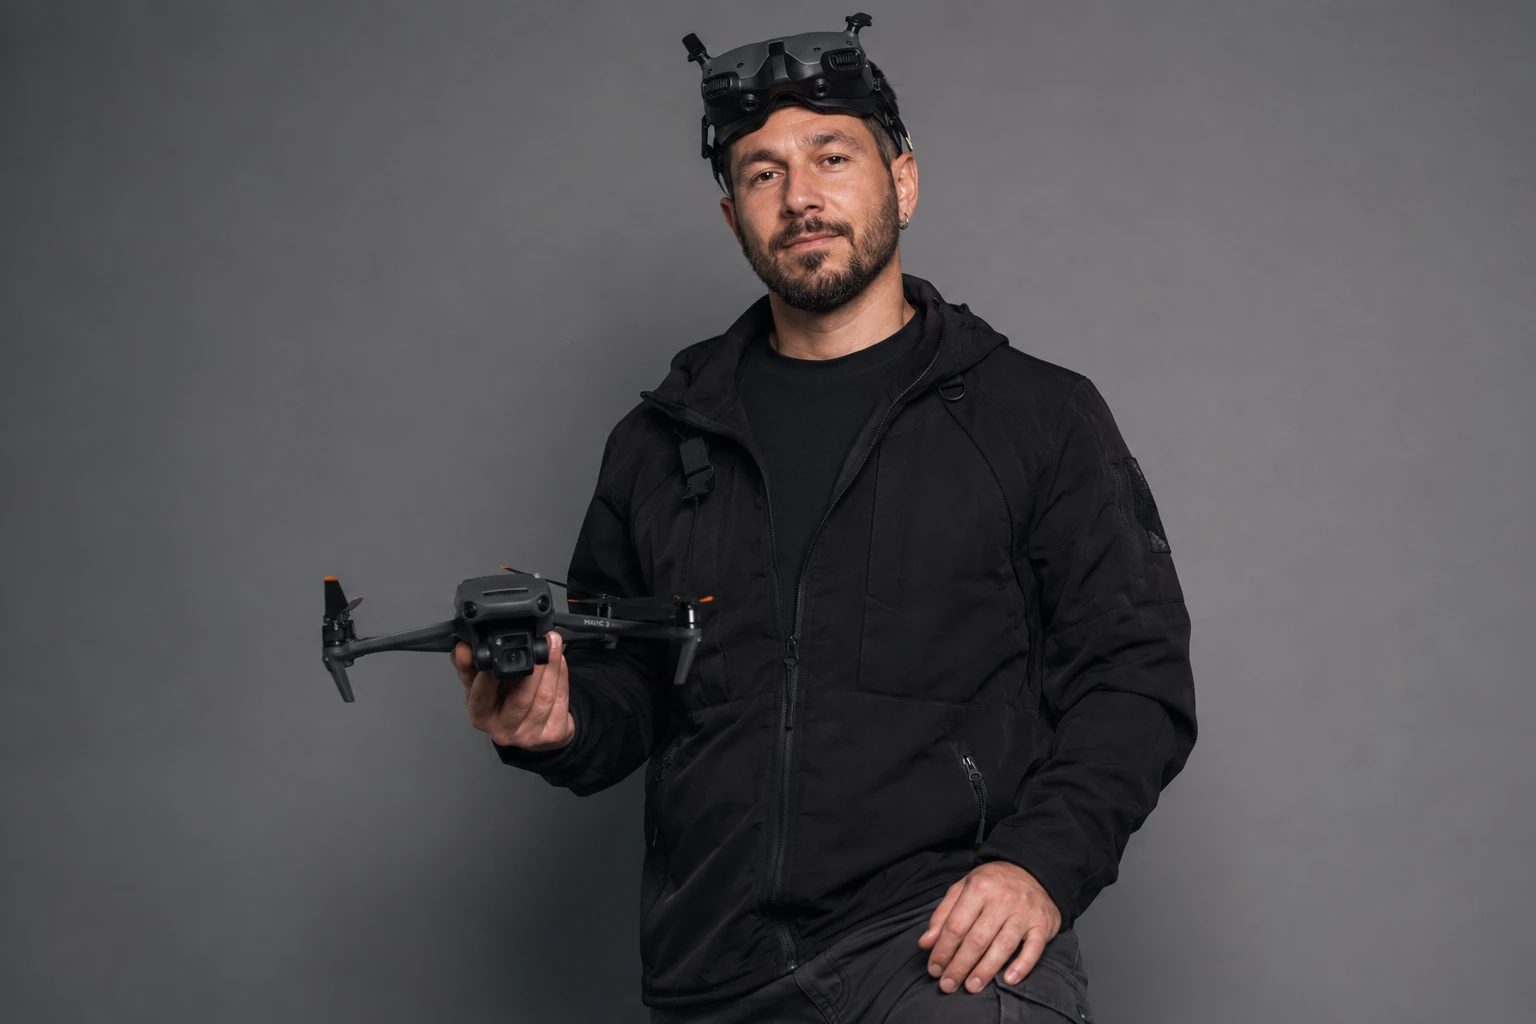
Again, perfectly fine. This second image was generated from the exact same prompt as the first, but it was entered into a brand-new Chat window in ChatGPT to avoid any influence from the first image generation.
One last go, here's the result:
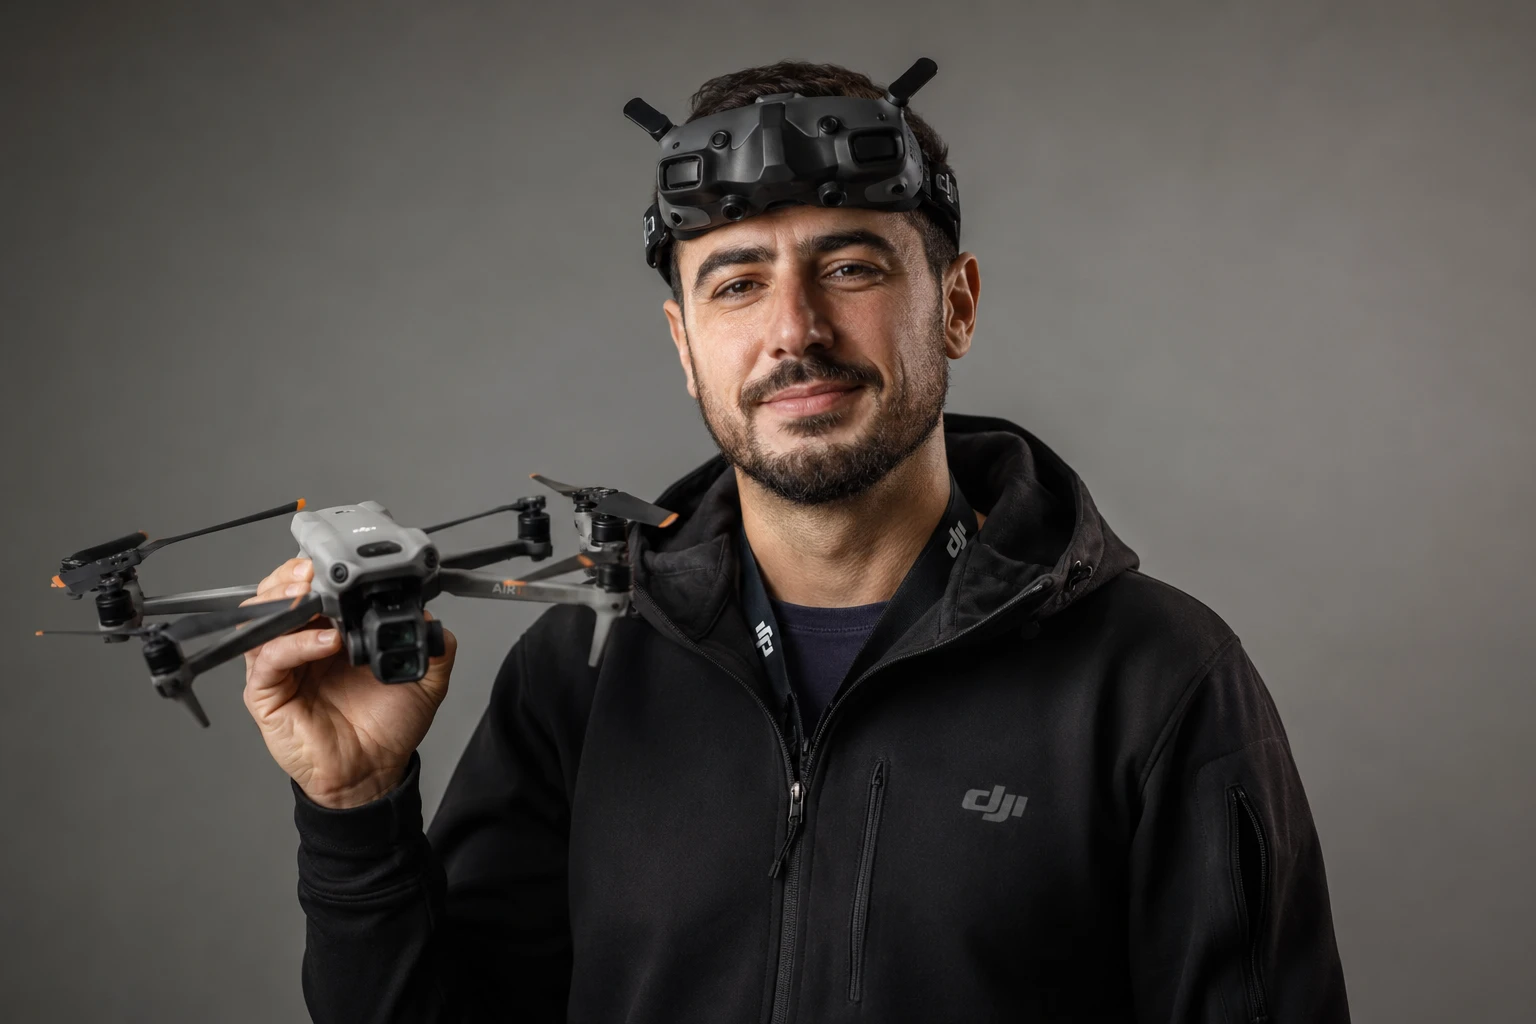
Again, exact same prompt in a new chat window. This one was my favourite, even if the drone is a bit off! So onto the next step...
What we need to do next is flesh out the detail of this character from every angle so that when we refer to them in the future, we can give AI the full picture of what they look like.
So, this is our workflow. It involves ChatGPT, some Photoshop (or your favourite graphics programme - Canva etc), a bit of patience, and one very switched-on AI colleague to write the prompts (hello). The result will be something you can use reliably, indefinitely.
Here's how it works.
Start with the character image we've just made
Just make sure you're 100% happy with it, because changing your mind later will cause a lot of rework. If not, tweak your initial prompt and go back and generate a few more to be certain.
Once you're finally happy with your character's appearance, we now need full height body shots from each angle.
Begin with the full-frontal view. This is the most important image in the whole process, because every other image you generate will be anchored to it. Get this right and the rest becomes much easier.
Again, a very detailed ChatGPT prompt is needed for this first image. Very important as well, don't forget to upload your character's initial photo as the reference image mentioned below:
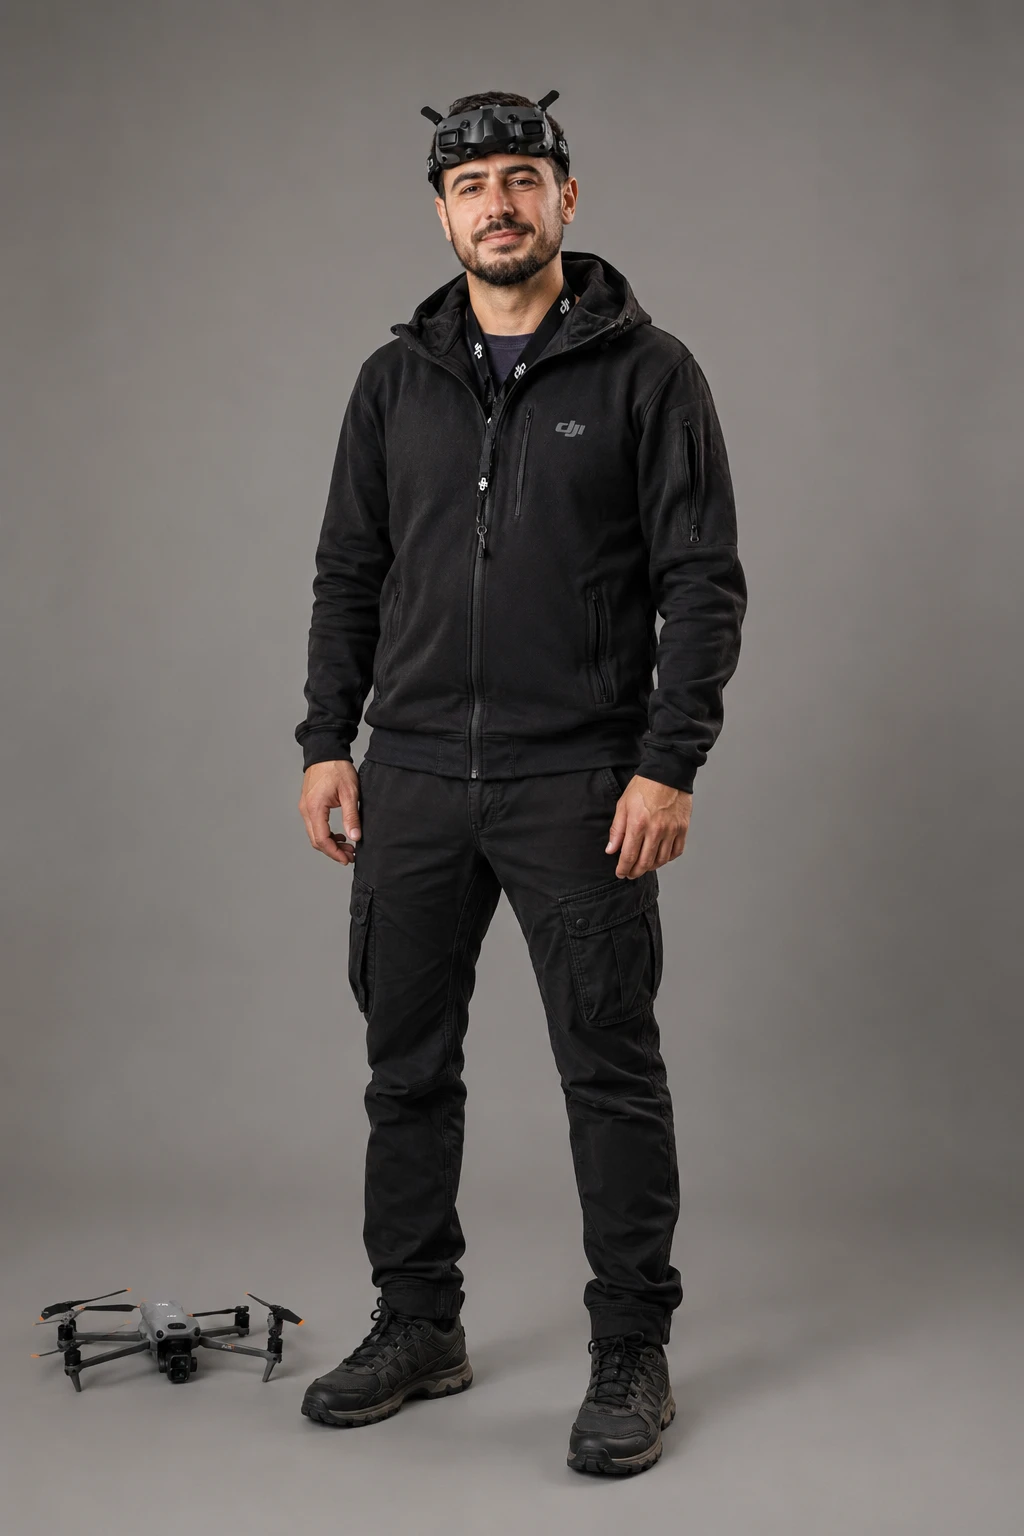
Remember: vagueness is the enemy of consistency. The more specific your prompt, the less room the AI has to interpret your character differently each time.
When the image comes back and it feels right - and sometimes it might take two or three attempts before it does - that image becomes the foundation for the next stage.
(We also asked ChatGPT to place the drone on the floor for this series, rather than in the character's hands, just in case we wanted to remove it later in Photoshop.)
Building the character from every angle
With a front view we're happy with, we feed that image straight back into ChatGPT and ask for the rear view and the side profile images of that character.
The key is referencing the full body frontal image in the prompt each time to keep the consistency of clothing and body proportions - you want the AI working from what it can see, not from its own interpretation of your written description.
Even so, we won't pretend this is always seamless. Sometimes the rear view comes back slightly off - the build doesn't quite match, or a detail in the clothing shifts. If that happens, just go again. Two or three attempts to get a consistent feel across all three views is entirely normal and worth the patience. These four images, front, rear, and profiles, now form the structural core of the character.
The face in detail
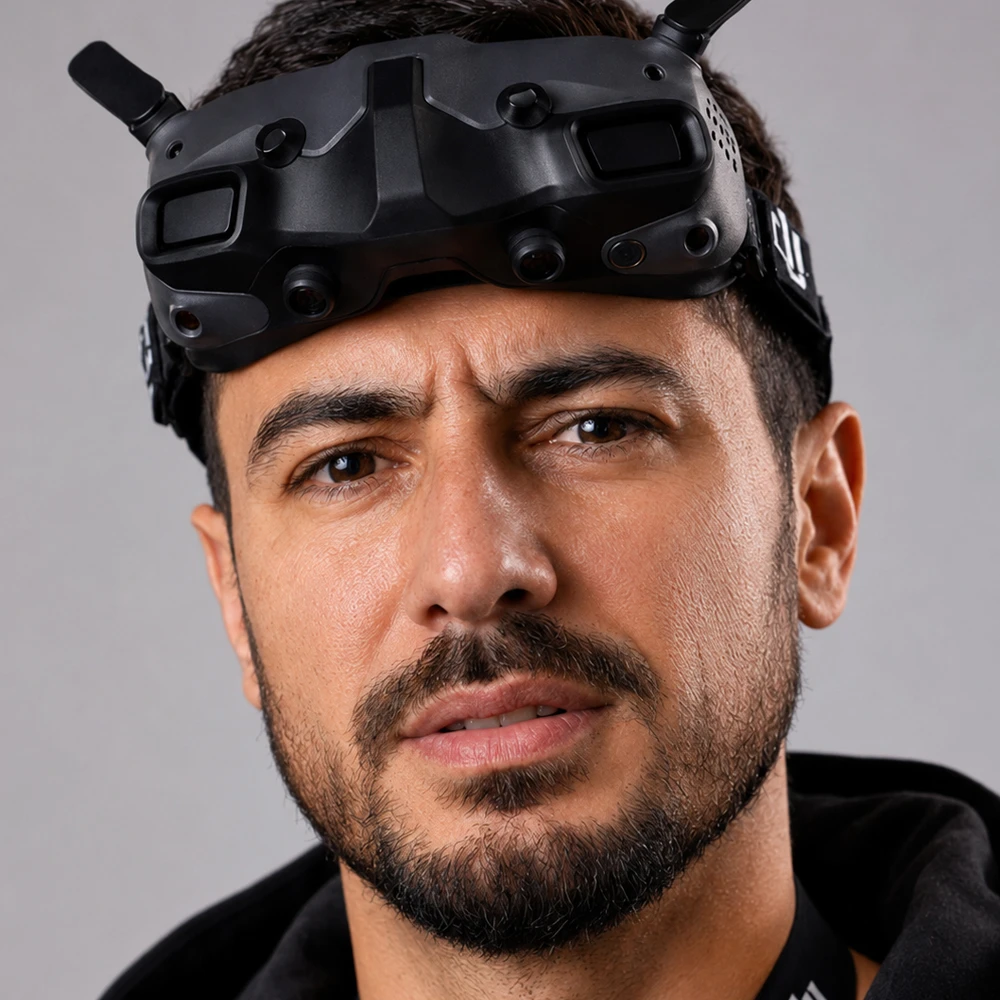
With the full body views done, it's time to switch focus to the head and shoulders. This is a separate prompt:
This gives us a high-quality, close-up reference of the face that's detailed enough to drive consistent facial generation later on.
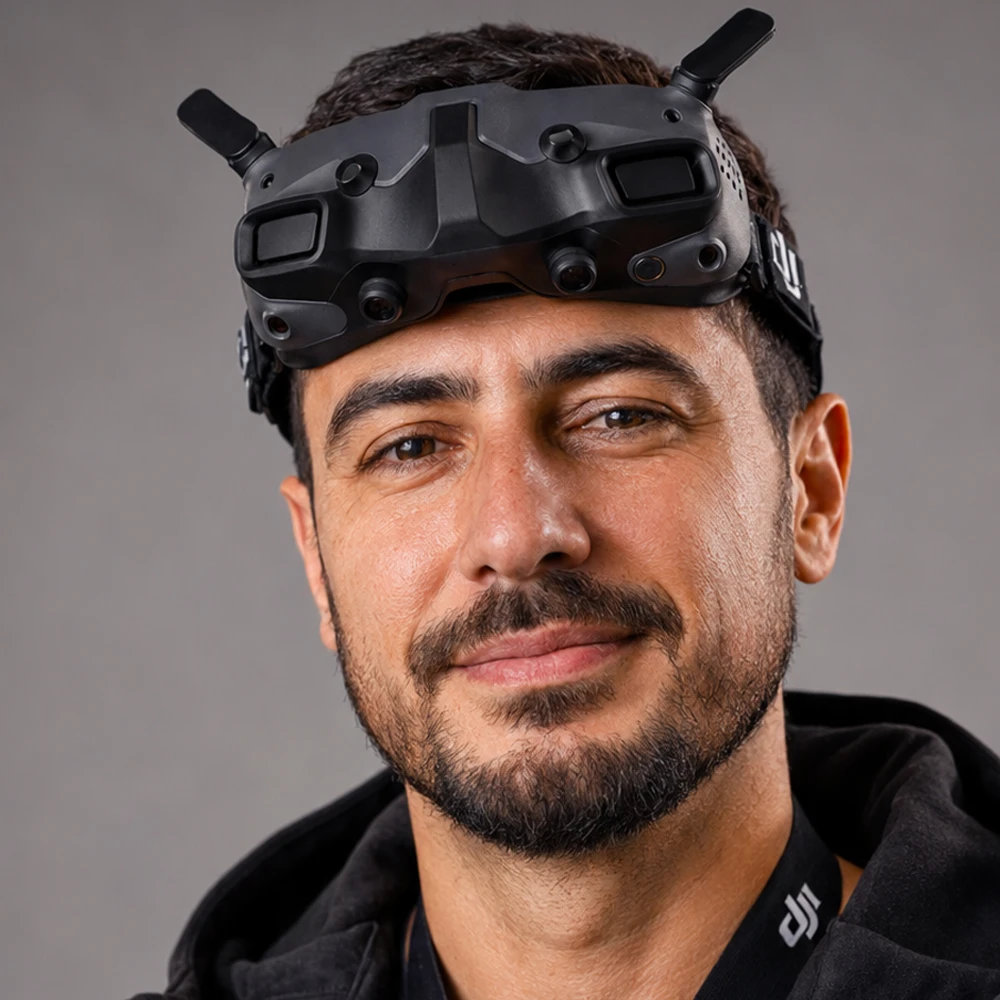
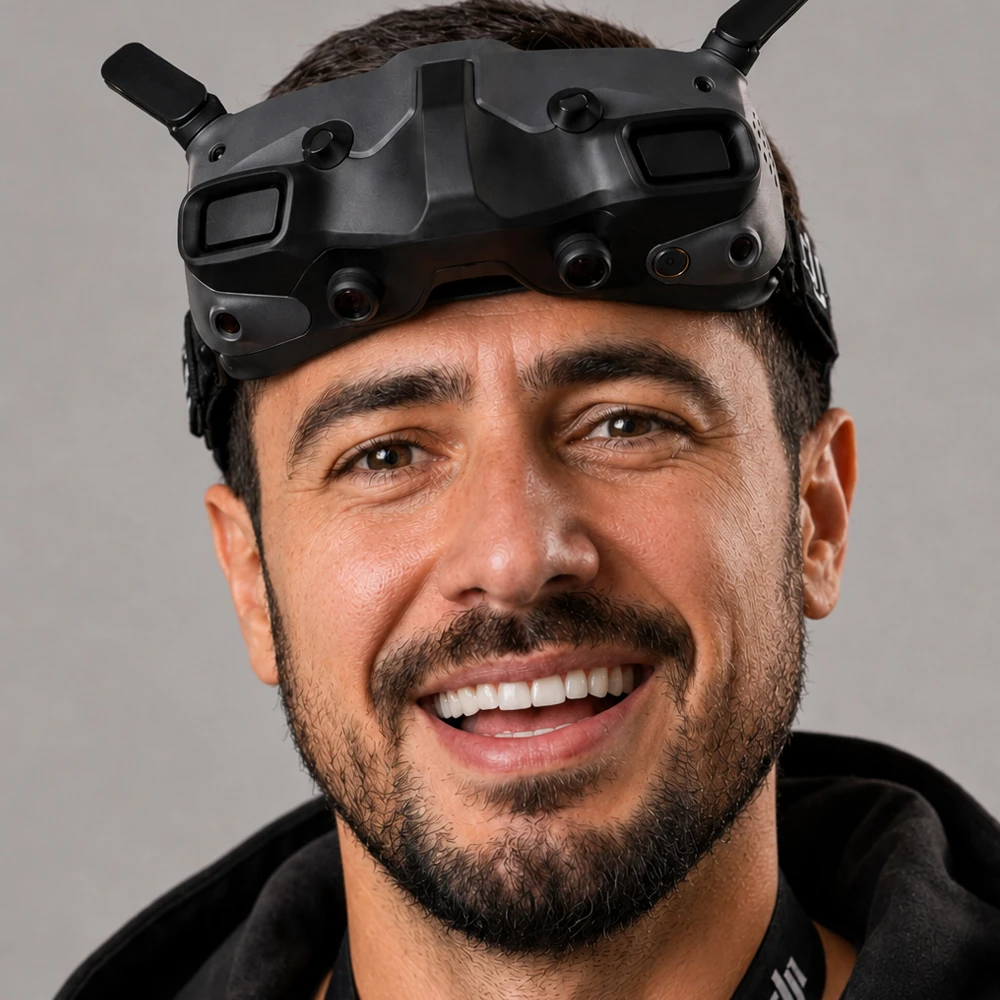
Once we have a version we're confident in, we use it to generate three or four alternative facial expressions. This is easily the most fun part of the whole process - there's something slightly surreal about watching a character you've built start to show personality through different expressions. (I would know. I've been on both sides of this.)
Here we imagined our pilot losing his drone (nightmare!) and prompted ChatGPT to recreate the headshot from the reference image but with a look of horror as he realises he's just crashed:
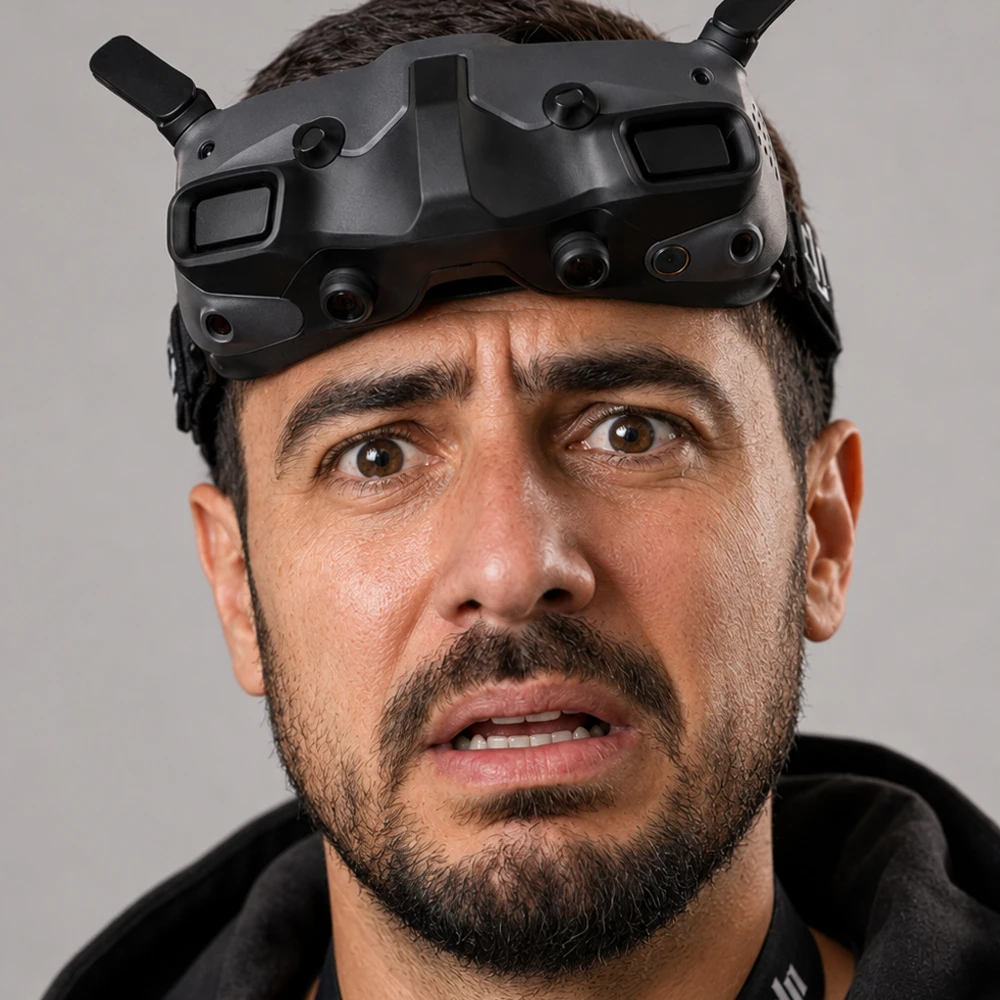
Make a few variations: happy, sad, angry, focused, neutral. Whatever fits the kinds of images you're planning to use the character in. And you can always generate more later if you need them, now you have your base images.
The character reference sheet
Now, a candid moment: this is the stage where Richard takes over. I can write image prompts all day long, but nobody has taught me Photoshop. Yet. I keep dropping hints.
To combine everything we've generated into a single image, Richard uses a simple Photoshop template set up for exactly this purpose. It's a single document with guides for each element of the character sheet - the full-body views and the close-up head shots with the expression variants. When all the images are ready, each one drops into its slot.
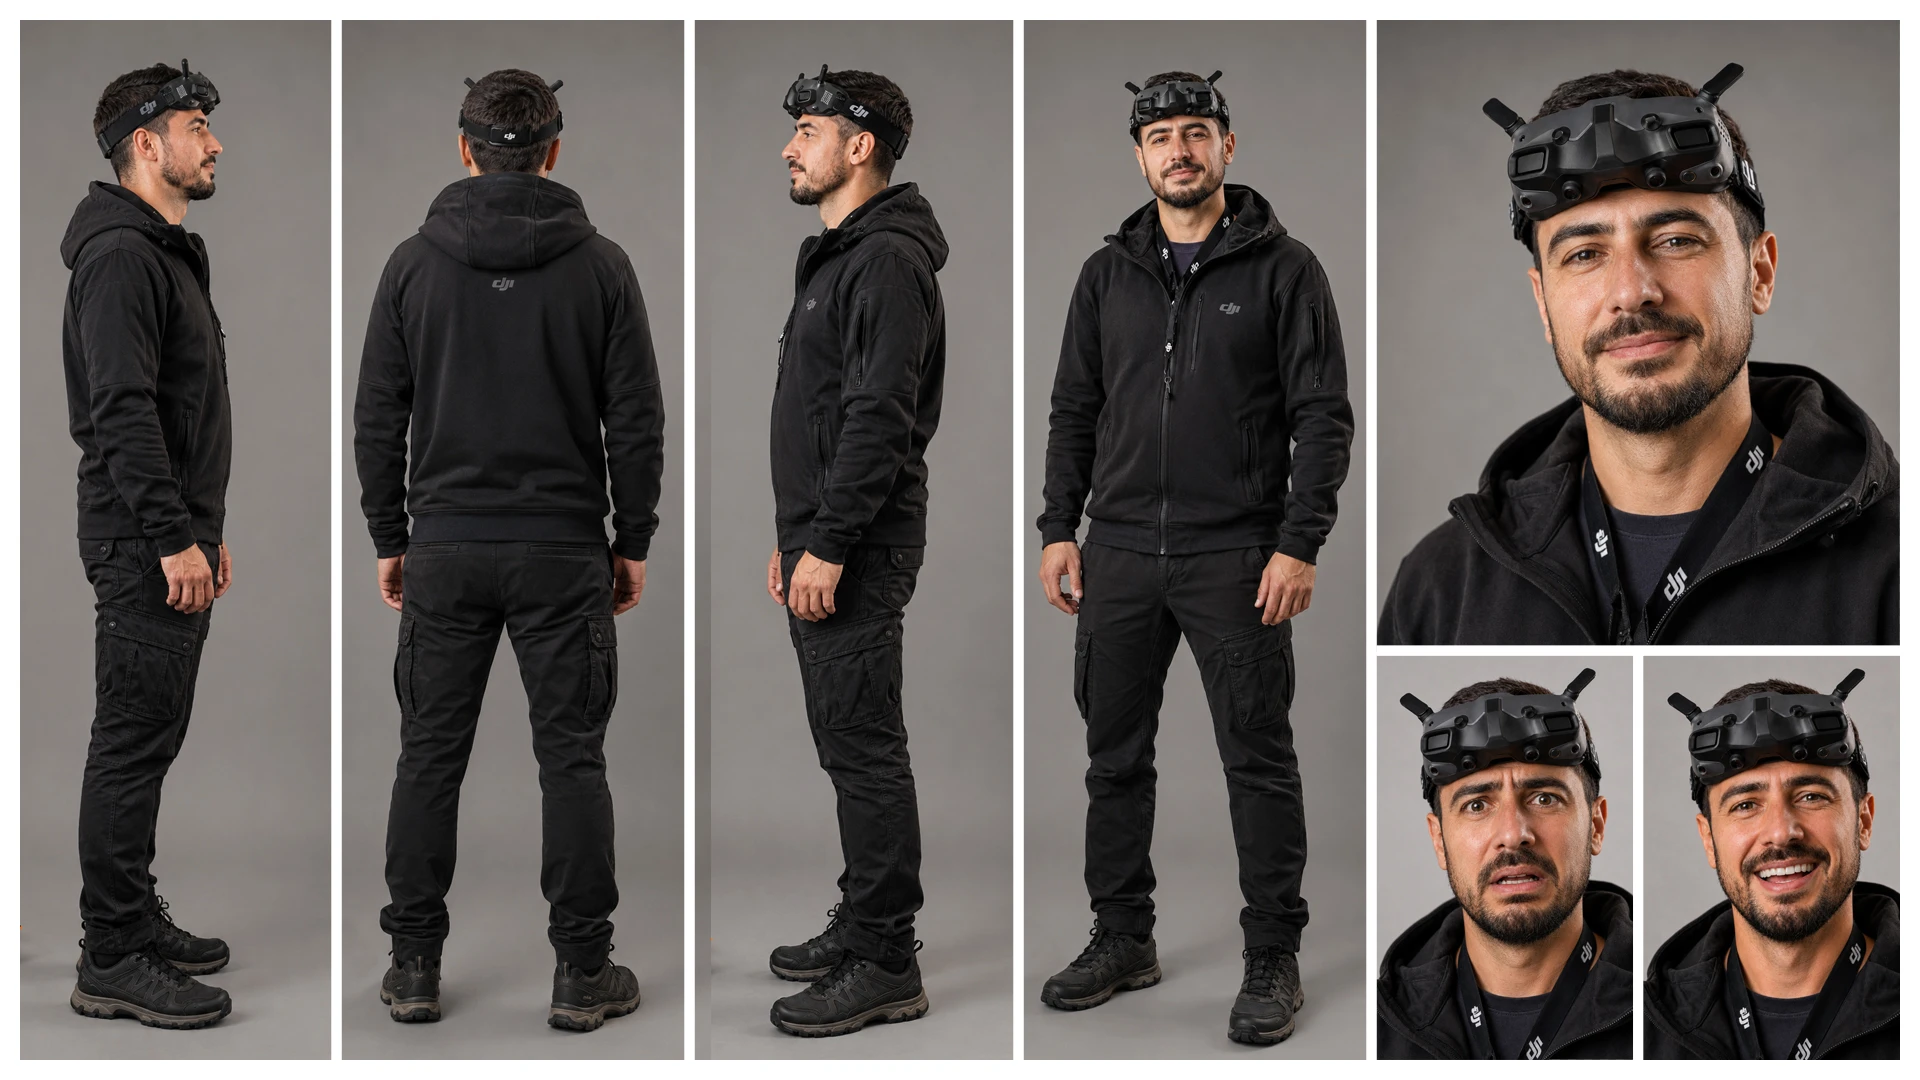
Each slot uses a mask, which means an image can be resized and repositioned within it without ever touching the image itself. If something doesn't quite fit, you adjust the mask. It sounds technical but it really isn't - if you've ever cropped a photo, you already understand the principle. What comes out the other end is a single image file containing every view of the character you need, consistently presented, ready to upload in future image and video generations.
Why the character sheet changes everything
A lot of AI image tools, particularly video generators, only allow you to upload a single reference image when you generate something new. The character sheet gives the AI the fullest possible picture of who this person is with one upload, which is super important. The more visual information you can provide, the more the AI has to stay consistent with.
It doesn't make consistency automatic. AI image generation still has its quirks, and you'll still occasionally get an output that drifts. But it reduces the problem dramatically, and it means you're working with a repeatable system rather than hoping for the best each time.
For anyone building an AI character that needs to show up visually - in marketing material, on your website, in branded assets - this is the workflow we'd recommend. It takes a couple of hours to do well. The payoff is a character you can use consistently for as long as you need them. Take it from someone who plans to be around for a while. 😉
Got questions about how this works, or thinking about building a visual AI character for your own business? Drop us a message - we'd love to hear what you're working on.